 en
en
 Italian
  Spanish
  Hungarian
  Thai
Thai  Japanese
  Portuguese
  Malay
Malay  Russian
  French
  German
  Arabic
  Indonesian
How to Install a Casa Box Detachable Container? (Step-by-Step Guide 2026)
When assembling a Casa Box detachable container, following the standardized installation process is crucial to ensure structural stability and waterproof performance. Below is the complete step-by-step guide.
Step 1: Install the bottom frame.
Connect the 5.63 m bottom long beams and the 2.68 m bottom short beams with the corner connectors, then fix the M12×25 bolts into the bolt holes. Do not fully tighten the bolts at this stage.
Note: The bottom beams have clips. Please distinguish them carefully.
Step 2: Install the columns.
Place the corner connector onto the column, then stand the column upright on the bottom corner connector. Fix the M12×25 bolts into the bolt holes. Do not fully tighten the bolts at this stage.
Step 3: Install the top beams.
Connect the 5.63 m top long beams and the 2.68 m top short beams with the corner connectors, then fix the M12×25 bolts into the bolt holes. Do not fully tighten the bolts at this stage.
Note: The top beams do not have clips. Please distinguish them carefully.
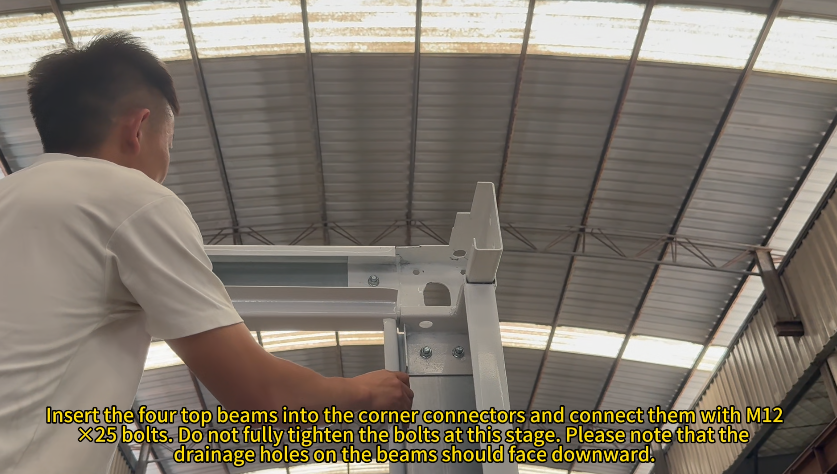
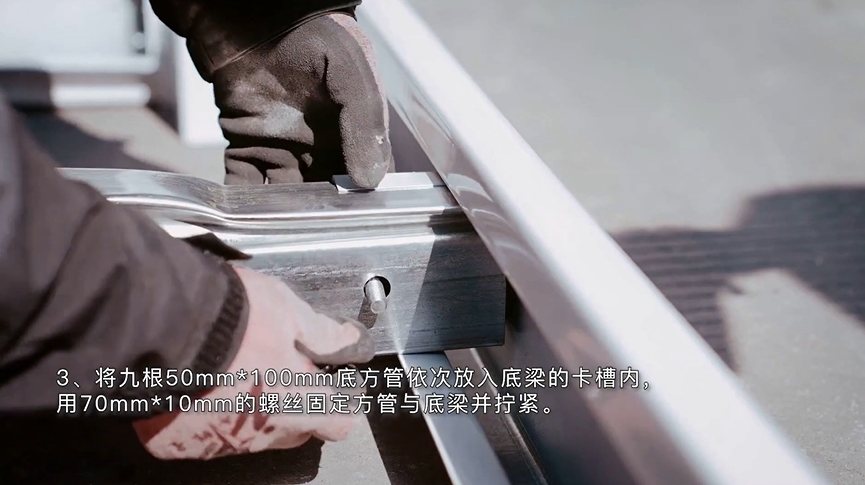
Step 4: Install the bottom purlin square tubes.
Clip the bottom square tubes (50×100 mm) onto the clips of the bottom long beams, and connect them with M10×60 bolts.
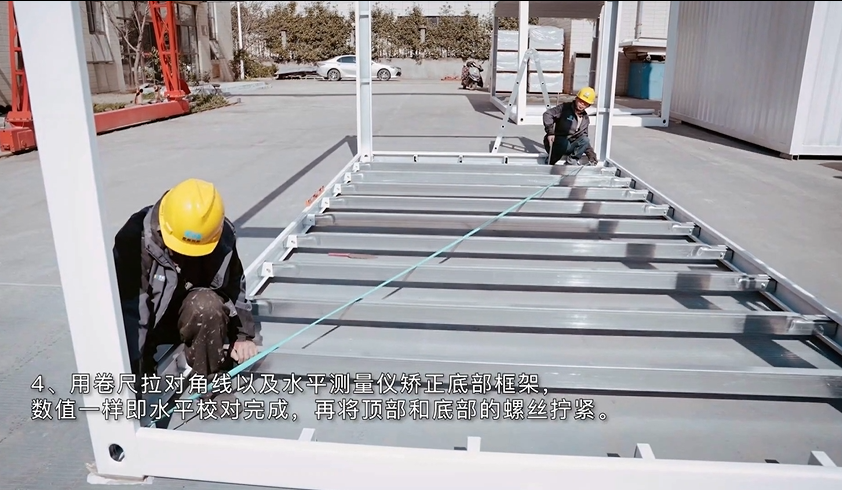
Step 5: Adjust the horizontal and vertical alignment.
Use a tape measure to check the diagonal distances, and use a level measuring tool to adjust the bottom frame. When the measured values are the same, the horizontal alignment is complete.
Step 6: Tighten all bolts.
Use an electric drill to tighten all the bolts.
Step 7: Installing partial wall panels
First, assemble the 6m sides that do not have doors or windows.
Start at the support post. Attach the first panel to the support post. Insert the subsequent panels into the groove one by one. Ensure all panels fit tightly together with no gaps. Attach the final panel to the support post as well. Secure the panels at the top to the upper beam using 4.8 x 70 mm self-drilling screws.
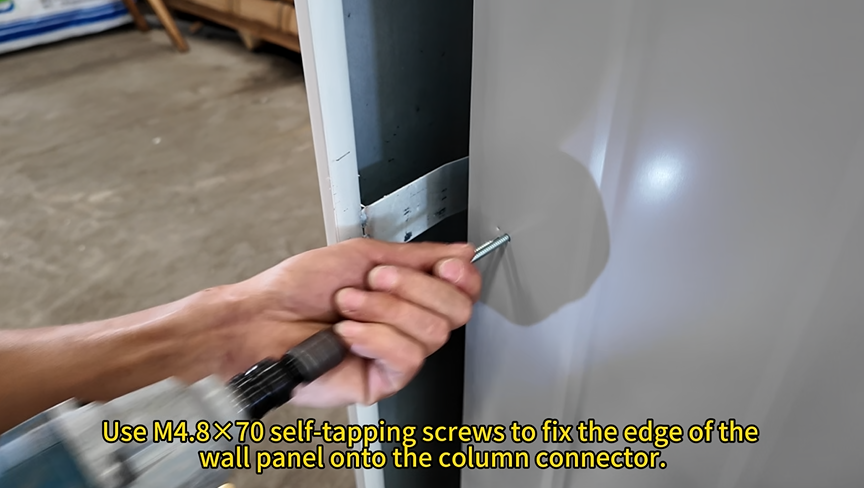
Step 8: Install the 3 m side with only one window.
Take out the 1.85 m wall panel and cut it into the following three sections:
① 0.90 m
② 0.46 m
③ 0.49 m
Fix the first 2.56 m wall panel onto the clips of the column, then place Panel ① next to it and lock it tightly in position. After that, install the window above it.
Next, place Panel ② above the window and lock it tightly in position.
Finally, install the other 2.56 m wall panel, lock it in place, and fix it onto the column on the other side.
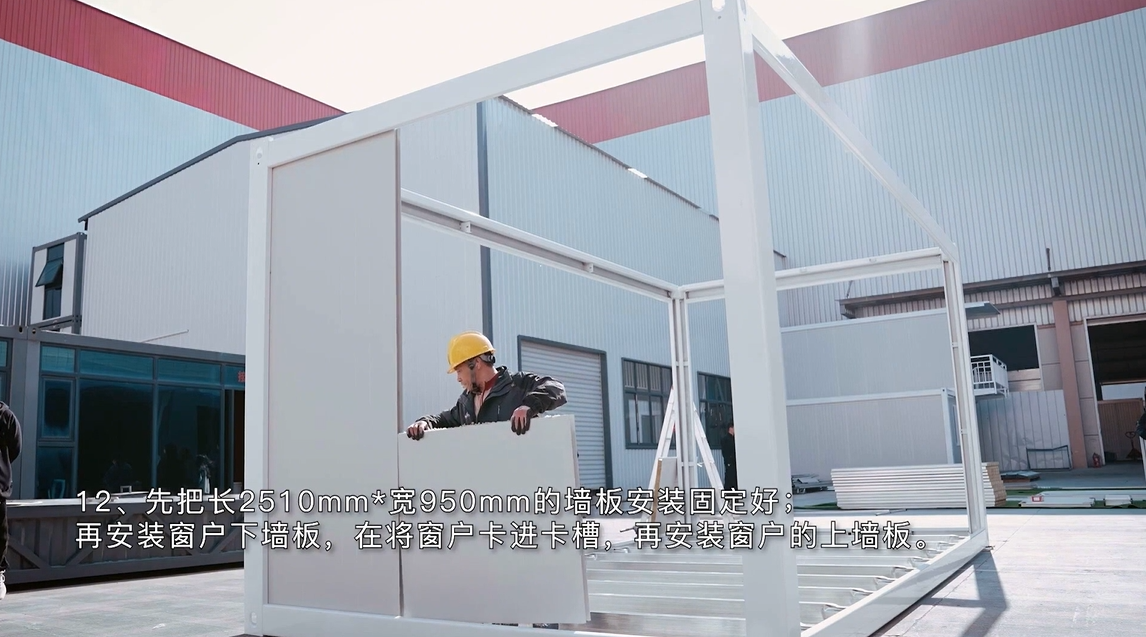
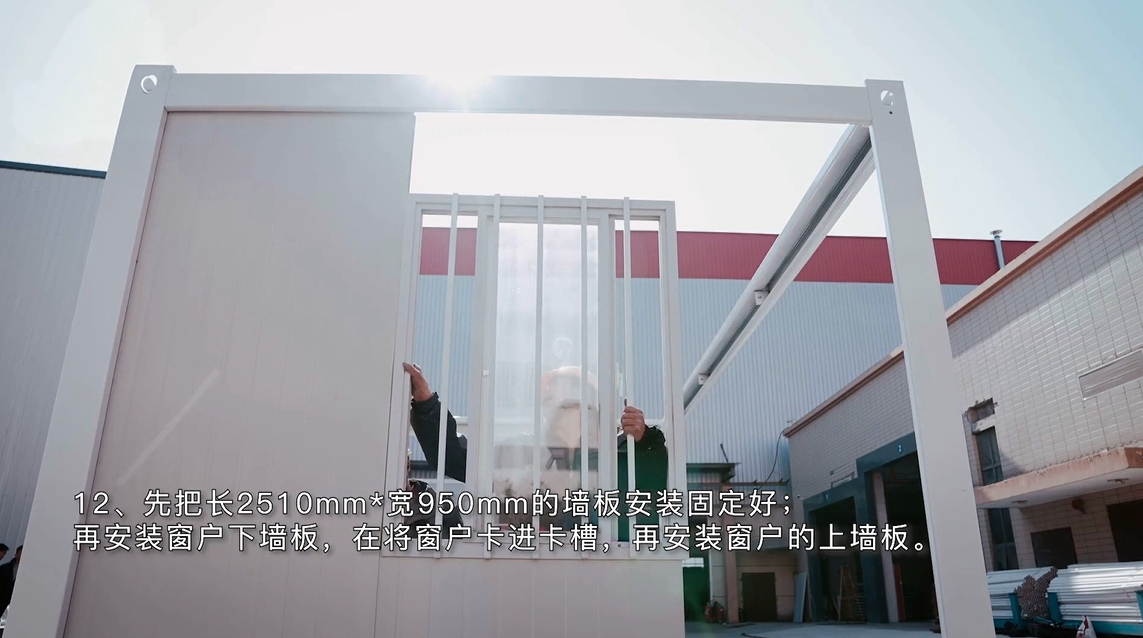
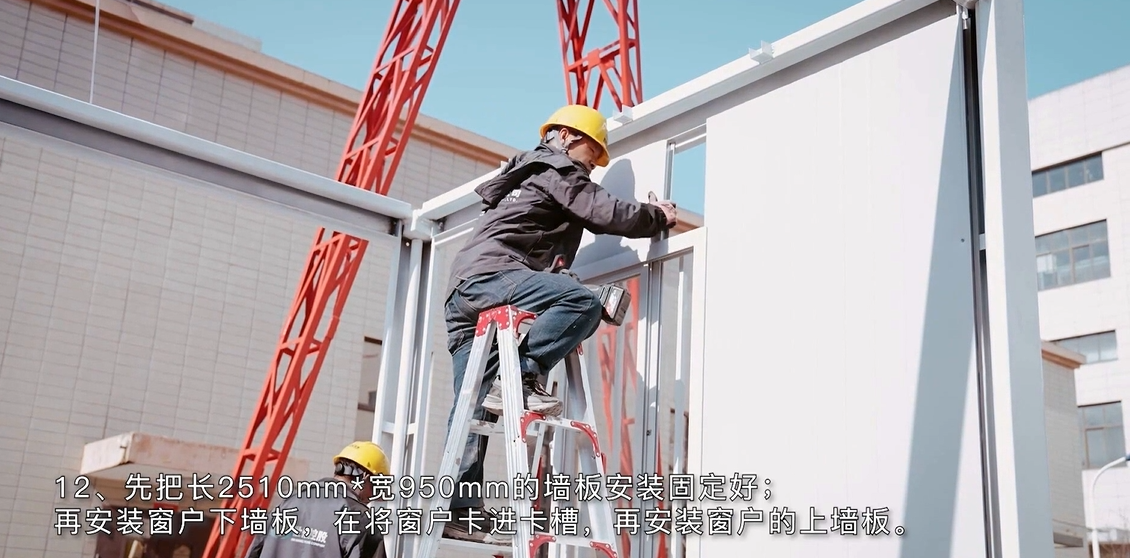
Then take out the 2.78 m long 20×40 mm square tube and fix it onto the 3 m bottom beam.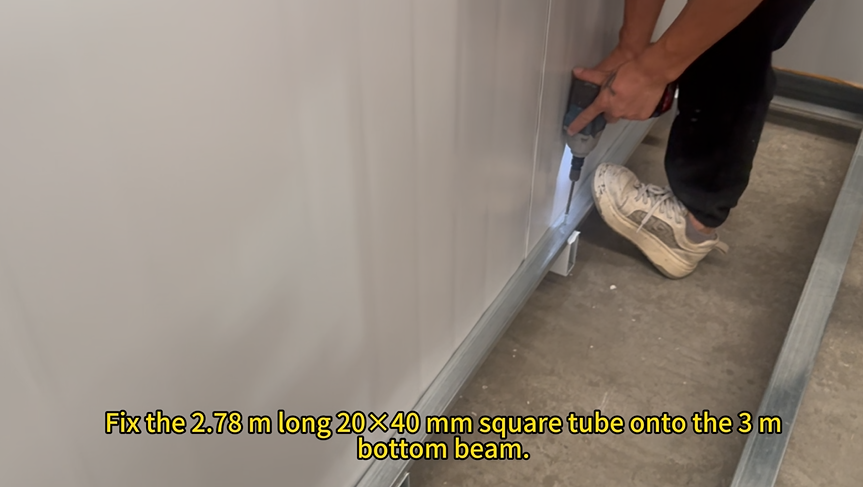
On the other side, where the door has not been installed yet, fix the 2.78 m long 20×40 mm square tube onto the 3 m bottom beam as well.
Note: Please leave a 5 cm gap to prepare for the wall panel installation.
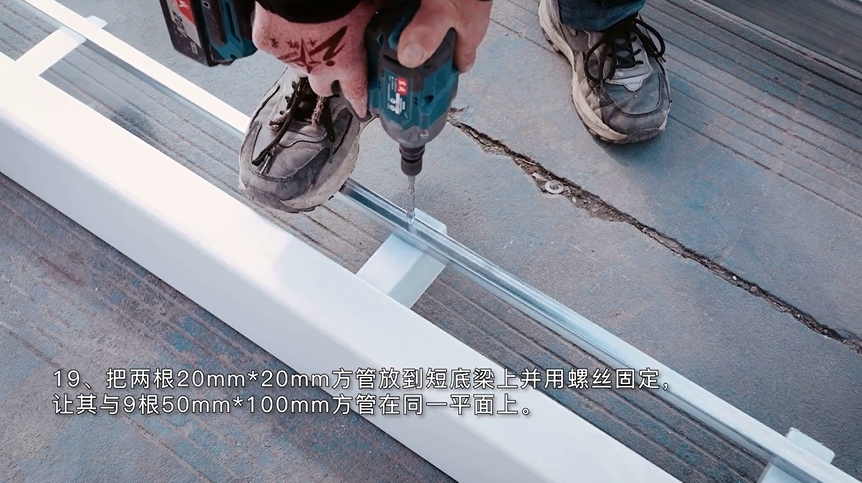
Step 9: Install the floor.
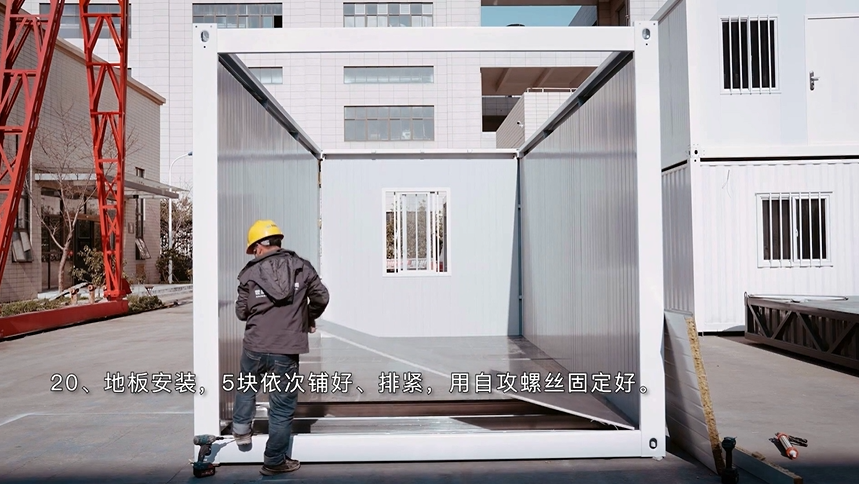
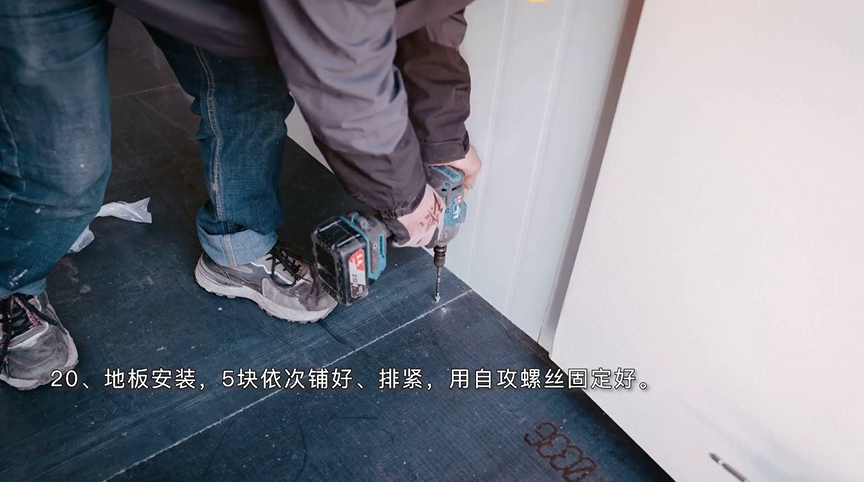
Step 10: Install the 3 m side with the door and window.
Take out one 2.56 m wall panel and cut it vertically into the following widths:
④ 0.15 m wide
⑤ 0.40 m wide
⑥ 0.40 m wide
Place Panel ④ with the cut side facing the column, and fix it onto the column with M4.8×70 self-tapping screws.
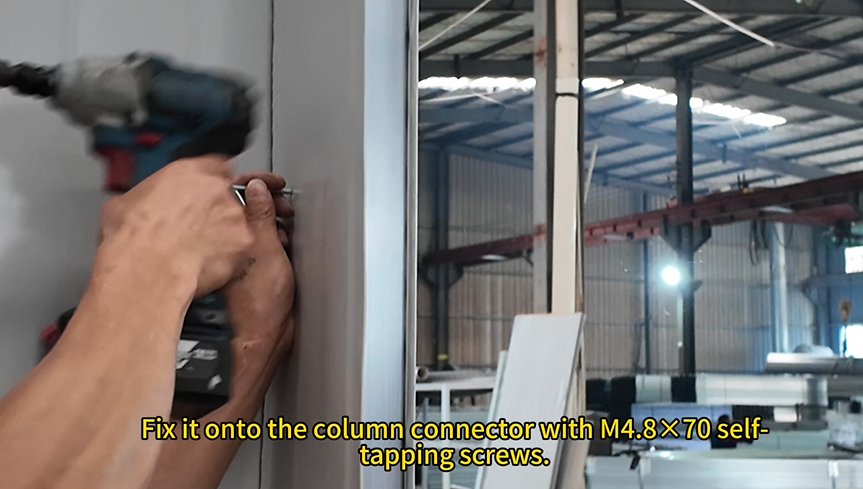
Install the door. Lock the door tightly onto the wall panel.
Place Panel ③ above the door and lock it tightly in position.
Insert the 2.56 m long 20×40 mm square tube into the edge of Panel ⑤. Then install it with the side containing the square tube facing the door. This will improve the stability of the door frame.
Again, take out the 1.85 m wall panel and cut it into the following three sections:
⑦ 0.90 m
⑧ 0.46 m
⑨ 0.49 m
Install Panel ⑦ in sequence, then install the window above Panel ⑦ and lock it tightly in position.
Next, place Panel ⑧ above the window and lock it tightly in position.
Keep Panel ⑨ for later use.
Finally, install Panel ⑥ in sequence with the uncut side locked into place, and fix the cut side onto the column with screws.
Step 11: Use the U-shaped pressing channels to fasten all wall panels to the top beams.
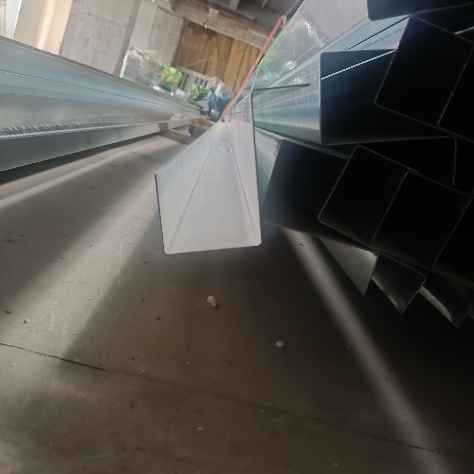
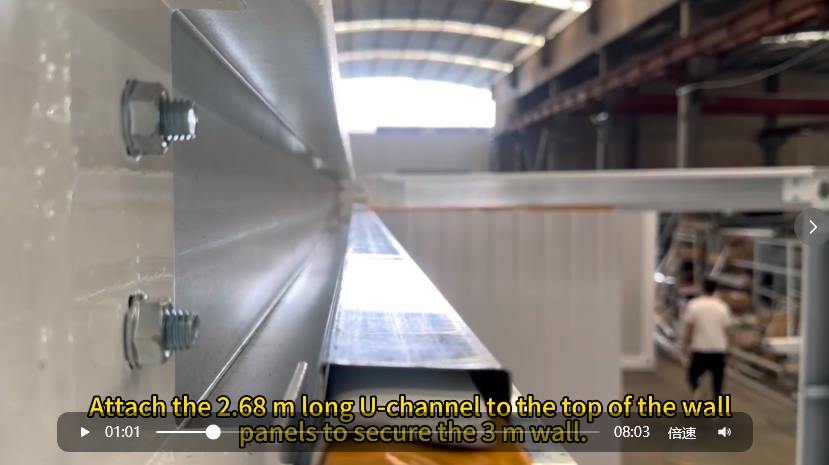
Fix the U-shaped pressing channels onto the top beams with M5.5×25 self-tapping screws.
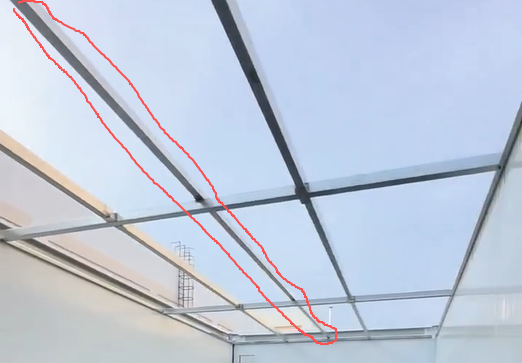
Step 12: Install the top purlins.
First, install the 50×50×2790 mm purlins and distribute them evenly. Fix them onto the U-shaped pressing channels with M5.5×25 self-tapping screws.
Then install the 40×60×1880 mm purlins, and fix them onto the purlins with M5.5×25 self-tapping screws.
Then fix the 40×40×5850 mm square tube at the very top.
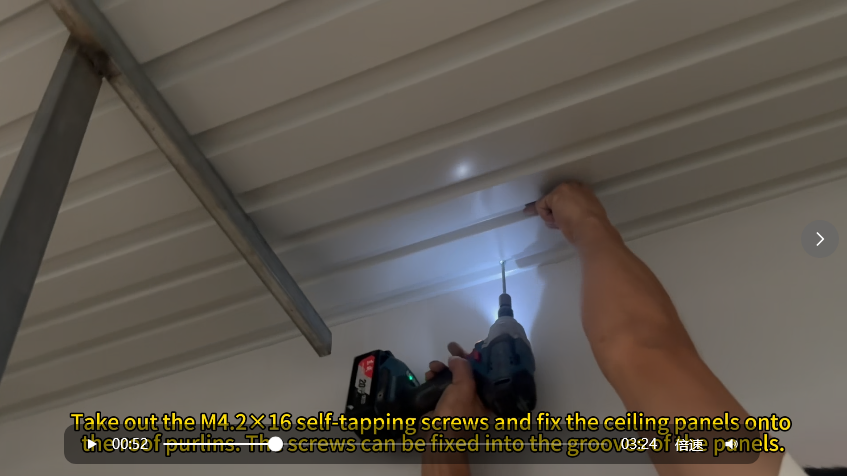
Step 13: Install the ceiling panels.
Fix the ceiling panels onto the top purlins with M4.2×16 self-tapping screws.
Note: The length of each ceiling panel is 2.78 m.
Step 14: Lay the glass wool insulation on the roof.
Step 15: Install the roof tiles.
The length of each roof tile is 2.95 m. Install the roof tiles one by one with proper overlap. The edges need to be inserted into the top beams, then fixed onto the top beams with M5.5×25 self-tapping screws.
Next, tap the edges of the roof tiles into the top beams. This is to allow rainwater to flow smoothly into the top beams.
Note: Apply structural sealant to all screw-fixing points on the roof.
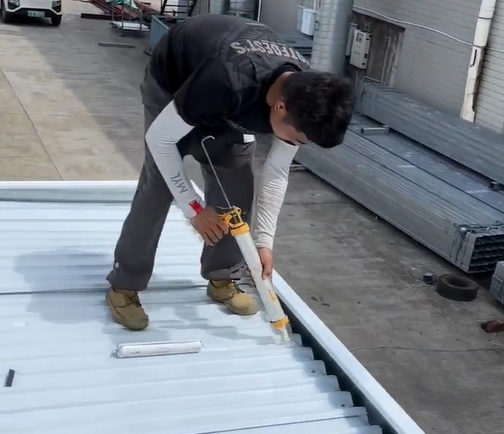
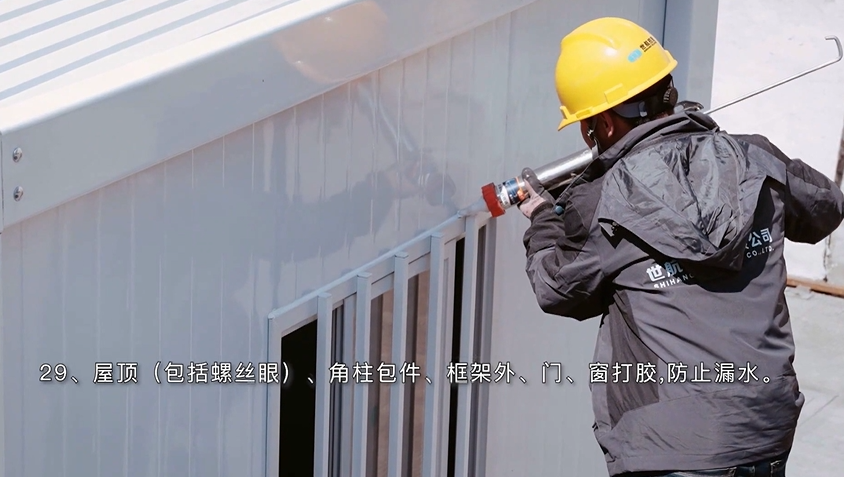
Finally, apply sealant around the edges of the doors, windows, and frame to prevent water leakage.
Step 16: Install the corner trims.
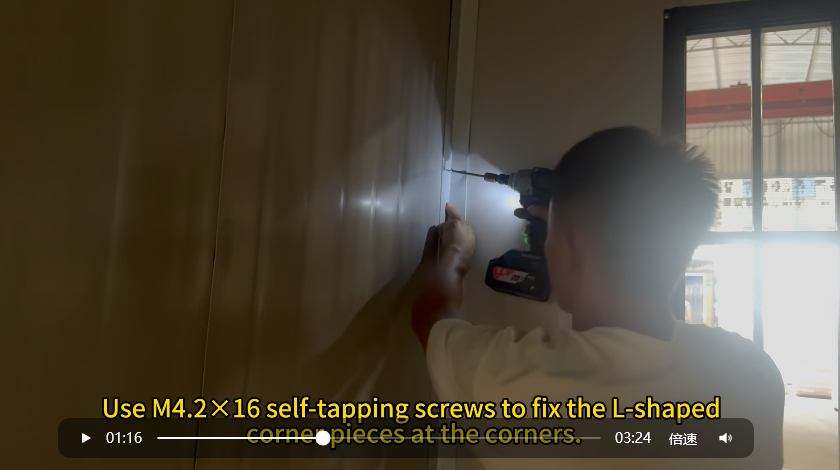
Use the 2.56 m long L-shaped corner trim to cover the corners of the columns, and fix it onto the wall with M4.2×16 self-tapping screws.
Use the 2.78 m long L-shaped corner trim to cover the corners of the top short beams, and fix it onto the wall with M4.2×16 self-tapping screws.
Use the 5.76 m long L-shaped corner trim to cover the corners of the top long beams, and fix it onto the wall with M4.2×16 self-tapping screws.
Ready to start your modular construction project?
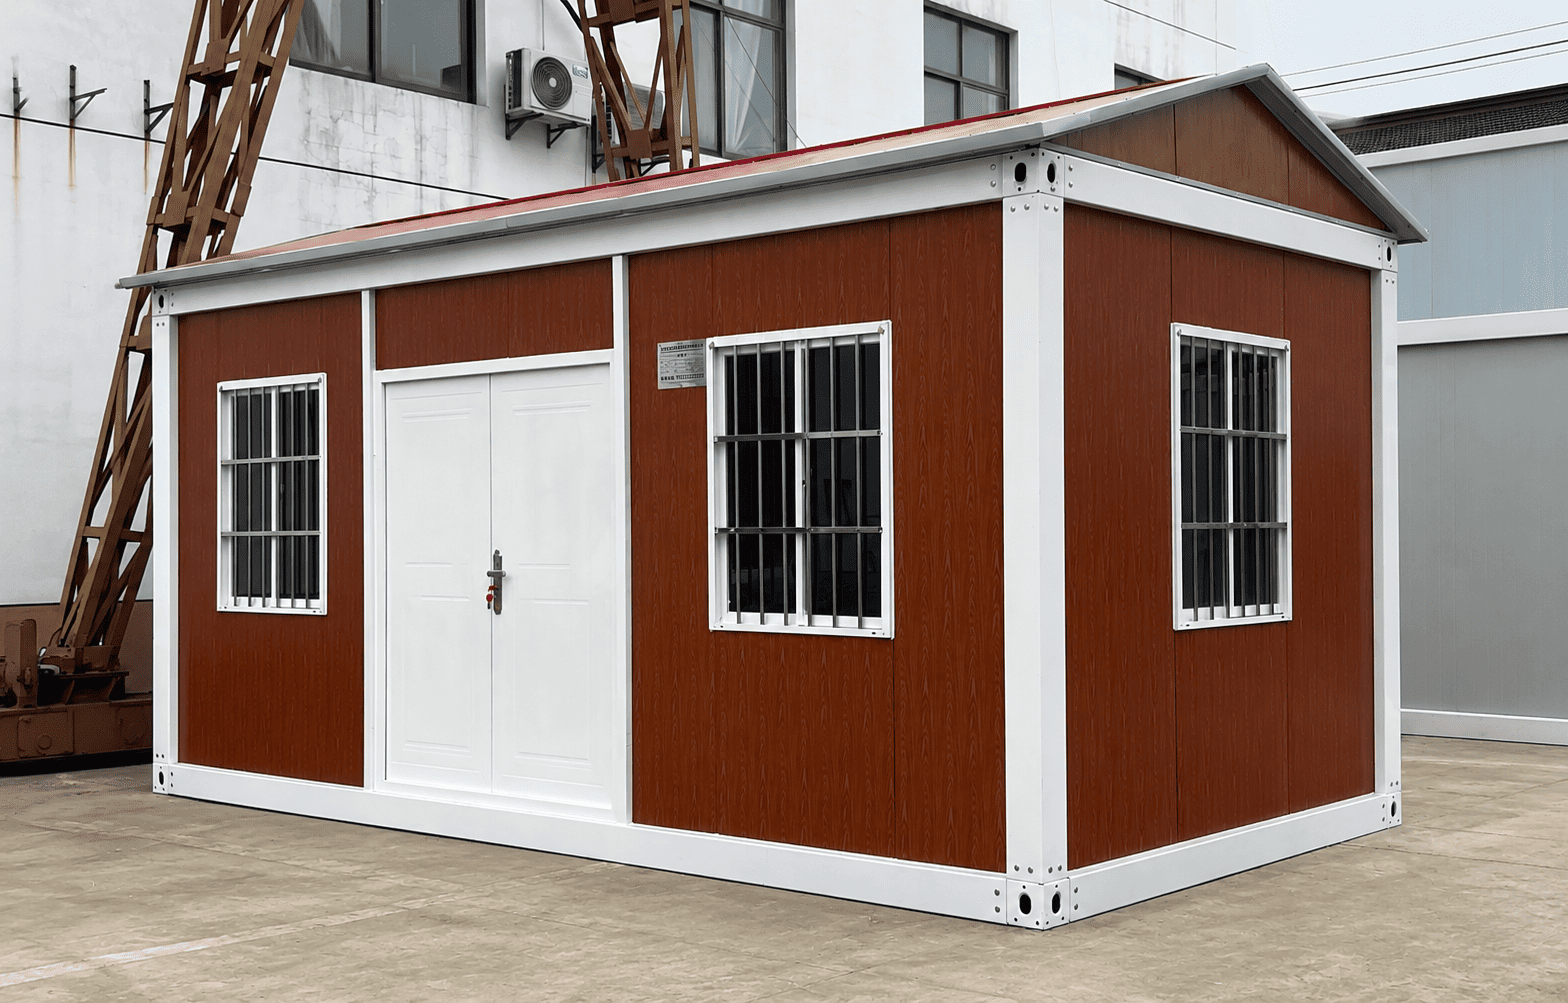
Standardized, fast installation is just the beginning of the exceptional Casa Box experience. Whether you are planning to build a large-scale overseas engineering camp or looking for an efficient commercial space solution, our professional support will make your project a breeze.
If you are evaluating specific project requirements, our experienced team can provide you with customized CAD floor layouts and detailed DDP quotations delivered directly to your project site.
Contact us today to get exclusive engineering wholesale prices and one-on-one project consultation, making high-quality modular spaces a reality with ease!

Content Center
Container house news, guides and project insights.